Forging the Tools
Complete this setup guide BEFORE the workshop begins. You will install the Unity Game Engine, Python neural network libraries, and the ML-Agents bridging software.
⚠️ System Requirements
- OS: Windows 10/11, macOS 12+, or Linux (Ubuntu 20.04+)
- Space: ~20GB free disk space
- RAM: 16GB Recommended (8GB Minimum)
- GPU: Dedicated NVIDIA GPU recommended for faster training, but CPU training works for this workshop.
Phase 1: The Simulation Engine (Unity)
We use Unity 2022 LTS (Long Term Support) for stability.
Step 1.1: Install Unity Hub
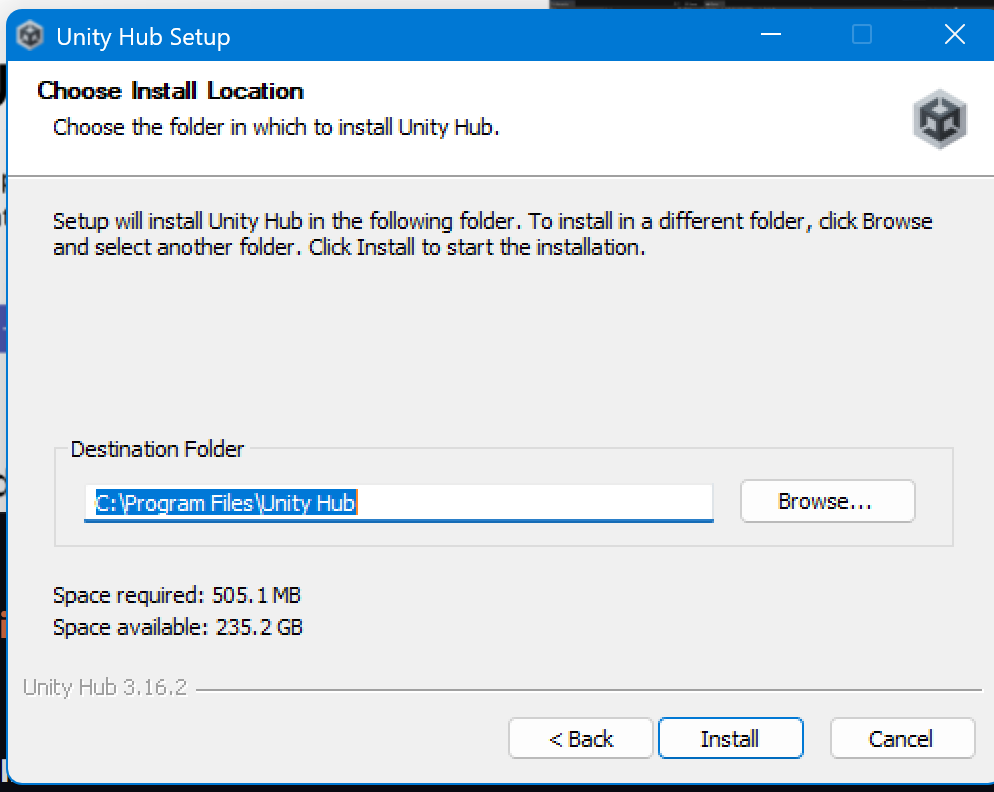
Download and install Unity Hub from the official site. This manages your Unity editors and projects.
Note: When running the installer, you can accept all default installation settings (install location, etc.).
Download Unity Hub ↗
Once installed, open Unity Hub. You should see a Welcome screen:
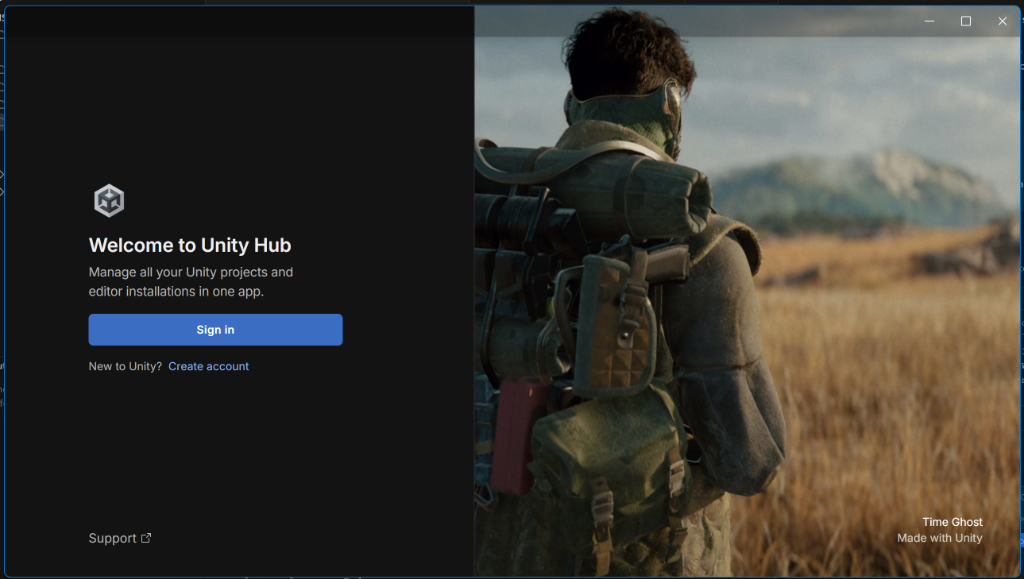
If you are new to Unity, you will need to click Create account. This is free and required to use the software. Follow the on-screen prompts to verify your email and sign in.
Once signed in, you will see the main dashboard:

Step 1.2: Install Unity Editor 2022.3 LTS
- Open Unity Hub.
- Go to the Installs tab > Install Editor.
- Select 2022.3.x LTS (The exact 'x' version doesn't matter, e.g. 2022.3.10f1).
- IMPORTANT: Ensure "Microsoft Visual Studio Community 2022" (Windows) or "Visual Studio for Mac" is checked in the modules list. This is your code editor.
- Click Install. This will take 15–30 minutes.
Phase 2: The Neural Brain (Python)
We need Python 3.10.12 specifically, as ML-Agents is sensitive to Python versions.
Step 2.1: Monitor & Python
Open your terminal (Command Prompt on Windows, Terminal on Mac/Linux).
Check for existing Python installation
python --versionIf it says Python 3.10.x, you are good. If not (or if it's 3.11/3.12), we recommend using Miniconda or PyEnv to manage versions.
(Option A: Recommended) Anaconda / Miniconda
- Download Miniconda.
- Install and open "Anaconda Prompt" (Windows) or Terminal.
- Create a clean environment:
conda create -n agents python=3.10.12
conda activate agents
Phase 3: The Bridge (ML-Agents)
This software connects Unity (C#) to Python (PyTorch). We will install version 1.1.0 (Release 21).
Step 3.1: Install PyTorch
Visit PyTorch.org to get the command for your system. Standard CPU command:
pip3 install torch torchvision torchaudioStep 3.2: Install Unity ML-Agents
Run these commands in your agents environment:
python -m pip install mlagents==1.1.0
python -m pip install graphics
Step 3.3: Verify Installation
Run the help command to ensure the CLI is ready:
mlagents-learn --help✅ Success: You should see a cool ASCII art logo of the Unity cube and a list of commands.
❌ Failure: If you see "command not found," ensure your environment is activated.
Phase 4: Workshop Assets
Clone the starter repository which contains the base environment art.
git clone https://github.com/sounny/AIMLAgentsWorkshop.gitREADY CHECK ✅
You are ready for Day 1 if:
- You have Unity Hub and Unity 2022.3 LTS installed.
- You can run
mlagents-learn --helpin your terminal and see the logo. - You have the workshop files on your computer.
Troubleshooting Corner
Error: "protoc-gen-mypy not found"
This is a common protocol buffer error. Run: pip install protobuf==3.20.3 to downgrade to a compatible version.
Error: Unity "Package Manager" connection failed
Sign out and sign back into Unity Hub. Check your firewall settings.