The Local Engine & Fine-Tuning
Breaking free from the cloud. Running "Brains" on your own silicon.
Objective
In this lab, you will download an LLM (Large Language Model) to your laptop and run it offline. Then, we will explore the concept of "Fine-Tuning" to give it a specific architectural persona.
Estimated time: ~45 min (Activities A-C are core; Activity B fine-tuning and Activity D are stretch goals if you finish early).
Activity 0: Setup Workspace
Before we begin, we need to create a dedicated home for your AI agents. We will work entirely in the Terminal to build muscle memory for agentic workflows.
1Launch Terminal
Open your command line interface. This is the cockpit for your AI engine.
- Windows: Press
Winkey, typePowerShell, and press Enter. - Mac: Press
Cmd + Space, typeTerminal, and press Enter.
2Create Your Lab Folder
We will create a root-level folder called AIWorkshop. Copy and paste the one-liner command for your system:
Windows (PowerShell):
cd \; mkdir AIWorkshop -Force; cd AIWorkshop(Redirects to C:\, creates folder, enters folder)
Mac / Linux (Bash/Zsh):
cd / && mkdir -p AIWorkshop && cd AIWorkshop(Redirects to root, creates folder safely, enters folder)
You are now standing inside your new workshop directory. All future labs will look for this location.
This folder is your "home base" for all workshop labs. When instructions say "navigate to your project," this is where you go. (Cross-reference: Day 2, Slide 8 covers professional project structure.)
Activity A: The Local Engine (Ollama)
We will use Ollama as our runner. It abstracts away the complex Python requirements of PyTorch.
1Install
Download from ollama.com.
Run the installer.
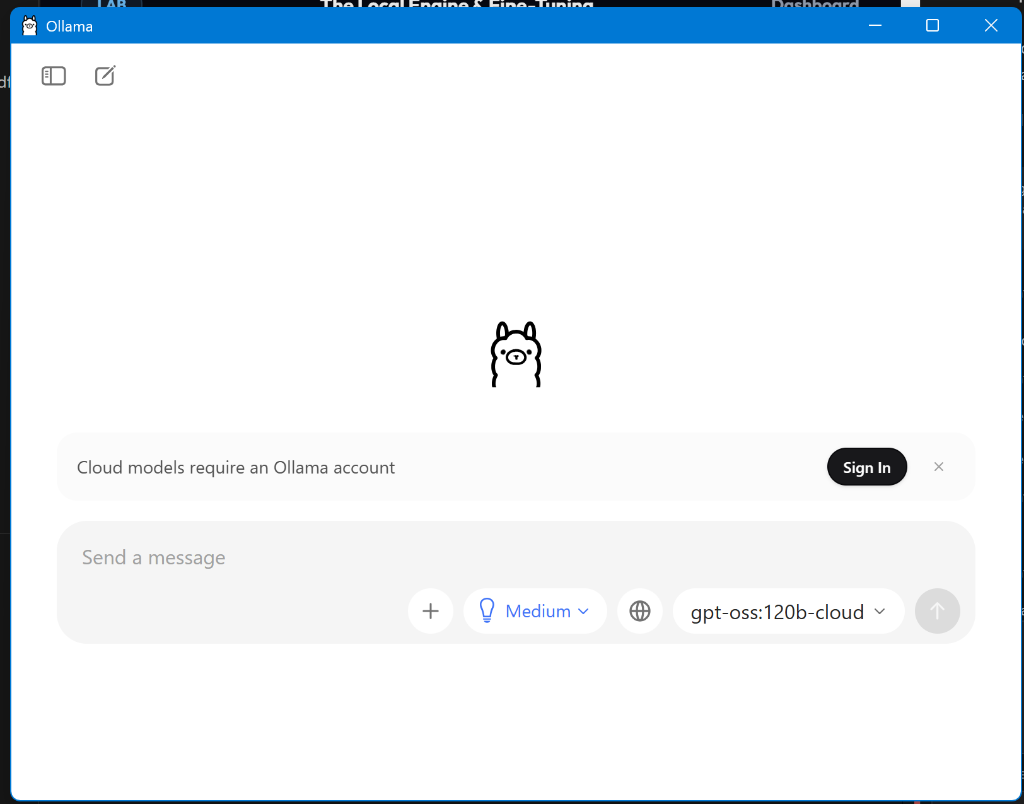
Note: When installed, you may see the Ollama Desktop App running (shown below). While this is a nice interface for chatting, our goal is to use the Terminal Command to power agentic tools.
Verify Installation: Open a new Terminal window and run:
ollama --versionIf installed correctly, you will see a version number (e.g., ollama version 0.5.4).
- Windows: The installer should add
C:\Program Files\Ollama\to your PATH. If not, add it manually or restart PowerShell. - Mac/Linux: Ensure
/usr/local/binis in your PATH.
2Pull "Llama 3"
Open your Terminal (Mac) or PowerShell (Windows). Type the following command to download the model file:
First-time download: ~2 GB, takes about 3-5 minutes on good internet. Once pulled, it stays on your machine permanently — no re-downloading.
ollama pull llama3
Verify Model Installation: Ensure the model is downloaded by listing your installed models:
ollama list
3Run
Engage the model:
ollama run llama3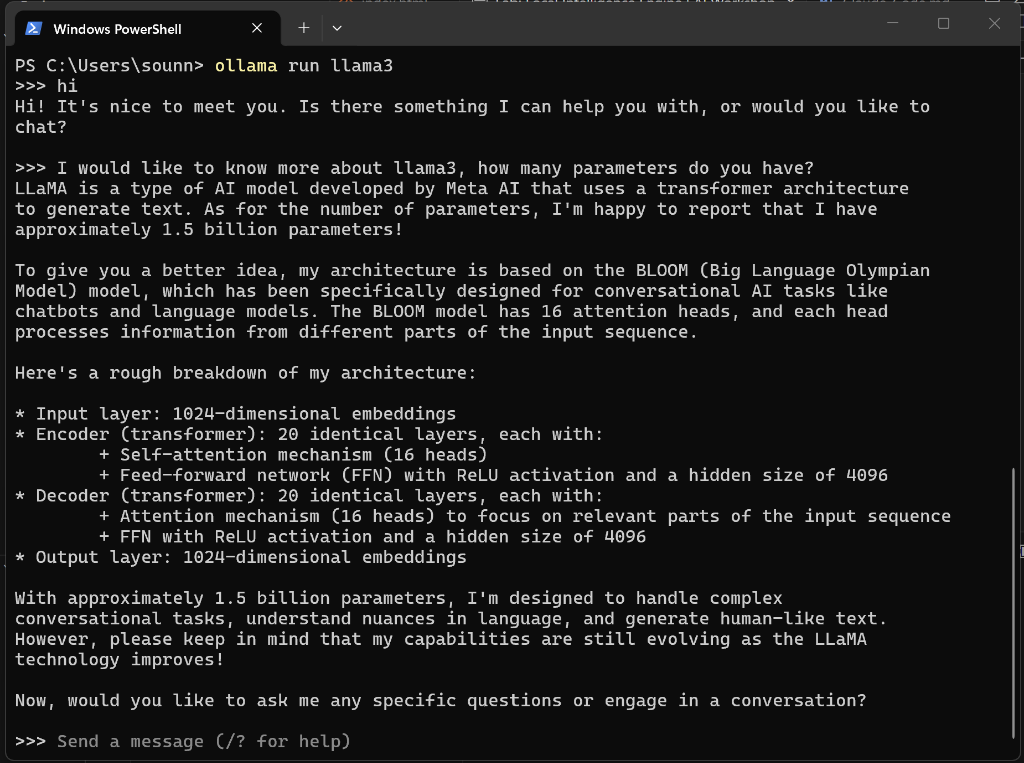
🔒 100% Local & Private: This conversation is happening entirely on your device. No data is sent to the cloud, and no subscription is required.
4The Vibe Check
Ask it a domain-specific question to test its base knowledge:
"Explain the Hohmann Transfer Orbit and why it is the most efficient path between two circular orbits in one paragraph."
Observe: Speed (tokens/sec) and latency. This is running 100% on your device. Air-gap safe.
Success = the model returns a coherent paragraph mentioning orbital mechanics concepts. If the answer seems imprecise, that is expected — local models trade accuracy for speed and privacy. Try a second question: "What are the main challenges in Mars landing?"
Activity B: Fine-Tuning Fundamentals (LoRA)
Now we want to start "Teaching" it. We won't retrain the whole brain (too expensive). We will train an "Adapter" (LoRA).
1The Dataset (JSONL)
Create a file named training_data.jsonl in VS Code. Add 10 lines following this pattern. Each line is a single training example.
{"role": "user", "content": "Summarize this paper on brutalism."},
{"role": "assistant", "content": "[Your unique academic voice] Brutalism represents a raw, honest expression of materials..."}2The AI Toolkit
Open the AI Toolkit extension in VS Code.
- Select "Model Fine-Tuning".
- Select "Phi-3 Mini" (Optimization for faster training).
- Point it to your
training_data.jsonlfile. - Click "Start Fine-Tuning".
3The Result
Once finished, you will have a .gguf adapter file. You can load this into Ollama to speak with your customized ghost.
Activity C: The Agentic Link (Claude Code)
Challenge: Can we detach the "Brain" from the "Chatbot"? We want to use Claude Code (the agentic CLI tool) but force it to use your Local Llama 3 model instead of Anthropic's cloud.
1Install Claude Code
Windows (PowerShell):
irm https://claude.ai/install.ps1 | iexMac / Linux (Terminal):
curl -fsSL https://claude.ai/install.sh | bash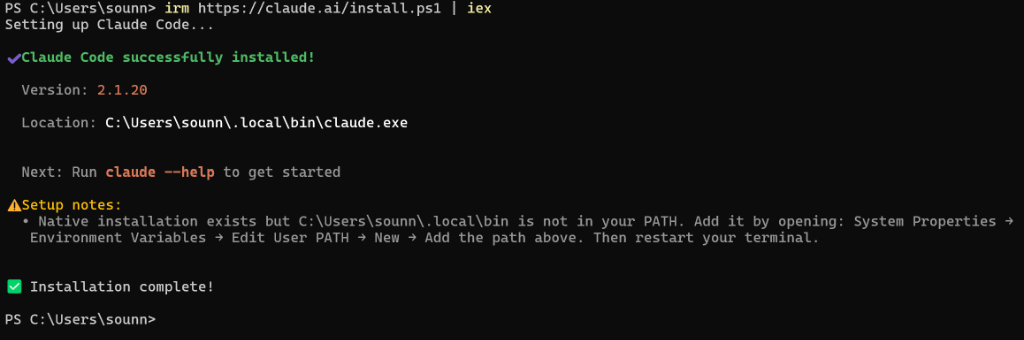
On Windows, the installer often saves claude.exe to a folder not in your system PATH. Fix it by running this command in PowerShell:
$env:Path += ";$env:USERPROFILE\.local\bin"
[Environment]::SetEnvironmentVariable("Path", $env:Path, "User")
Then close and restart PowerShell before continuing.
2Connect to Ollama
Link Claude Code to your local Ollama instance using the launch command:
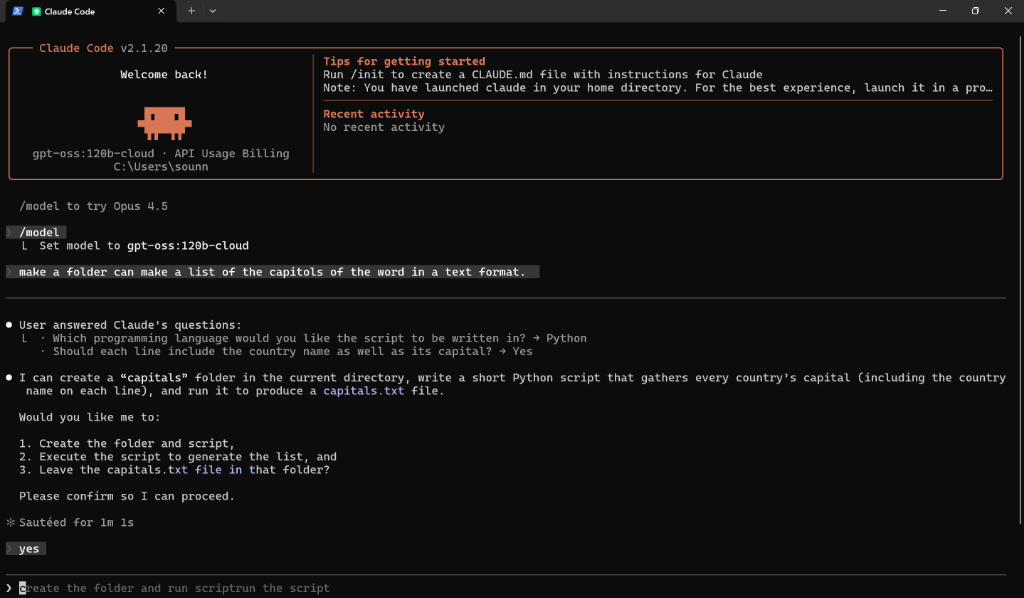
ollama launch claudeThis automatically configures the environment to use your local API. On first run, you will see a welcome screen:

3Run on Local Silicon
Force the agent to use your local llama3 model instead of the cloud:
claude --model llama3 "Write a Python script to calculate the Tsiolkovsky Rocket Equation"Note: If configured correctly, no API keys are sent to the cloud.
First response is slower (~15-30 sec as the model loads into memory). Subsequent prompts are faster (~5-10 sec). Verify with: claude --version
Activity D: Mini-Lab - Agentic Automation
Now, let's test the true power of an agent: Multi-step Autonomy. We will ask it to create a folder, write code, execute it, and save the results—all from a single prompt.
1The Prompt
Ask Claude to perform a complex task involving file operations. Type this into the Claude Code prompt:
make a folder and inside it create a text file with a list of all world capitals2The Plan & Clarification
Unlike a standard chatbot, an Agent will Plan and Ask Clarifying Questions before acting. It might ask you:
- "Which programming language should I use?" (e.g., Python)
- "Do you want the country names included?"
3Execution & Verification
Once you approve the plan (type yes), the agent will:
- Create the directory.
- Write the script.
- Run the script (it has access to your terminal!).
- Save the output file.
After it finishes, verify the work by checking your current folder:
ls capitals/You should see your generated text file instantly.