Mission Control Setup
Moving from Consumer (Browser) to Builder (IDE).
The Shift to "Builder" Mode
Every Space Professional needs their tools. We are moving from a consumer environment (the Browser) to a builder environment (the IDE).
For someone working in the space sector—whether you are a student analyzing orbital data or a seasoned professional modeling workplace sustainability—your environment matters. You wouldn't launch a rocket from a backyard; you need a Launch Complex.
Visual Studio Code (VS Code) is your Mission Control. It is where you will write code, manage data, and direct your AI agents.
Installation Sequence
1Download the Interface
Visit code.visualstudio.com.
VS Code is fully cross-platform. The site will automatically detect whether you are on Windows, macOS, or Linux. Download the Stable Build.
2Install & Configure
Run the installer. Accept the varied defaults, but pay attention to the "Select Additional Tasks" screen.
Ensure you check the boxes options:
✅ "Add 'Open with Code' to the FILE context menu"
✅ "Add 'Open with Code' to the DIRECTORY context menu"
This allows you to right-click any folder and instantly launch your mission control.
3Launch & Augment
Open VS Code. The interface is your cockpit. You will not be coding alone; you will be "Directing" an AI agent.
This begins with extensions like Gemini Code Assist or GitHub Copilot, but the future of this field lies in fully Agentic IDEs like Google Antigravity (Project IDX) or Cursor.
For today's mission, we establish our standardized baseline. Click the Extensions icon (Squares on the left sidebar) and install these core upgrades:
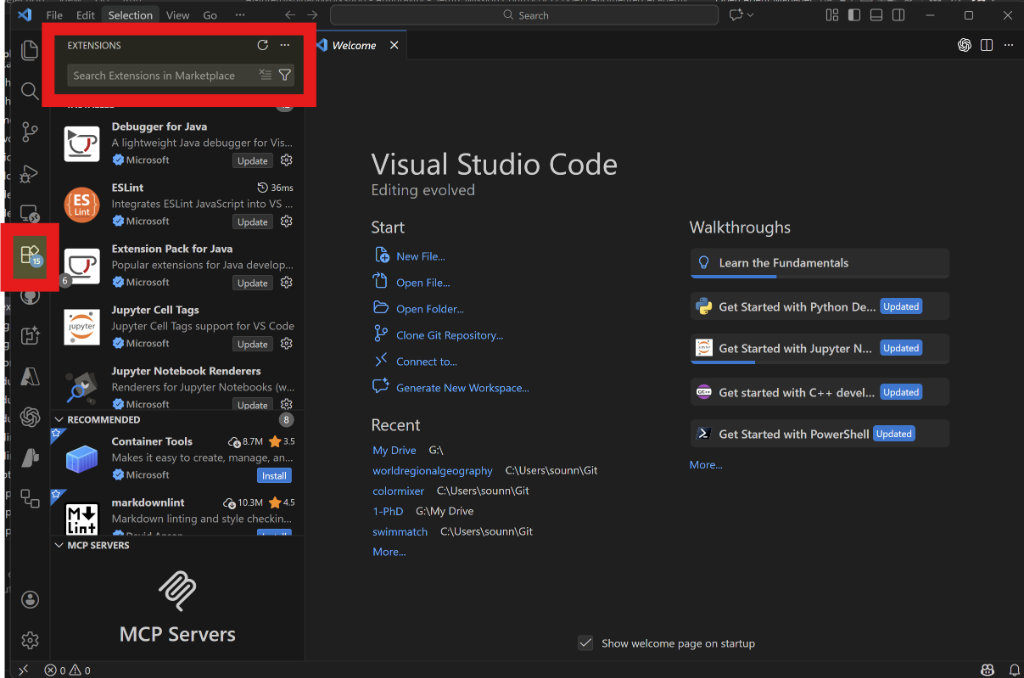
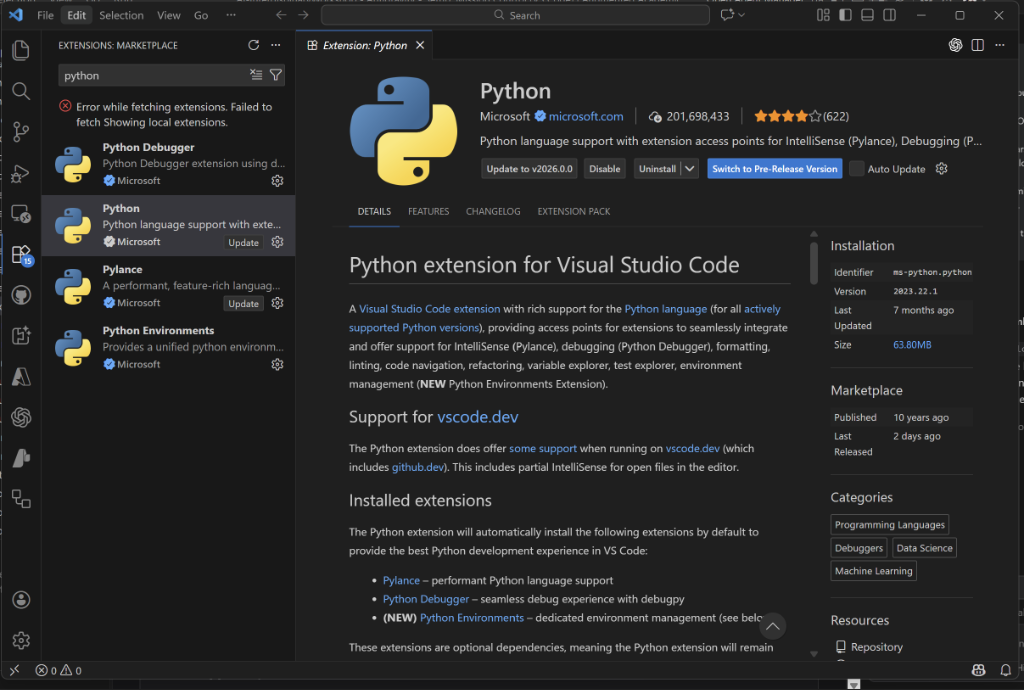
- Python (by Microsoft) - The engine of data science.
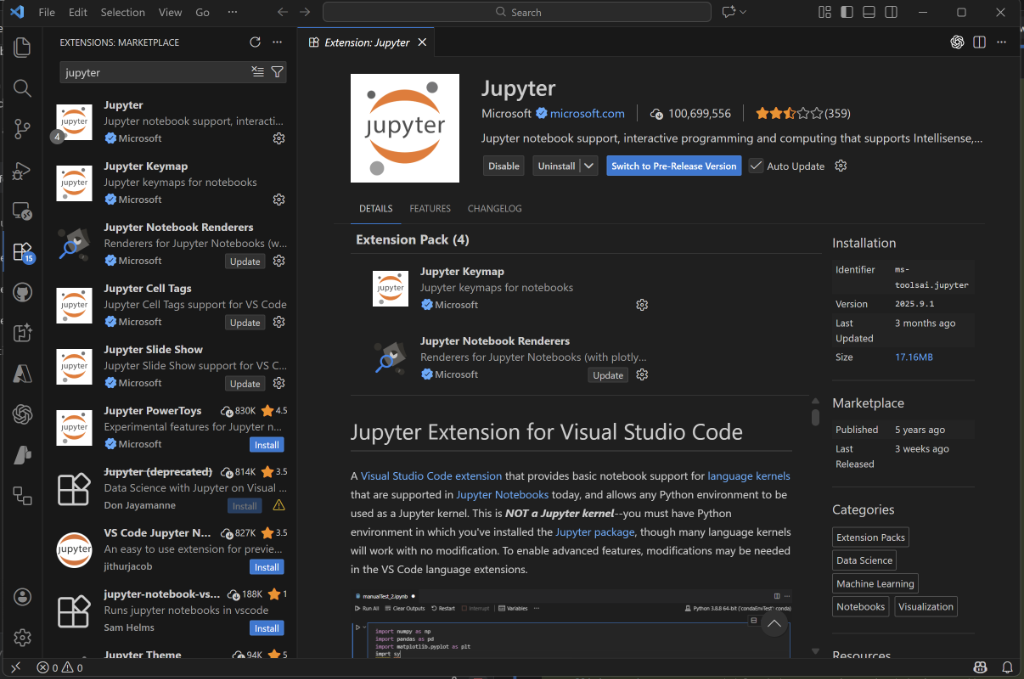
- Jupyter (by Microsoft) - For interactive notebooks.
- AI Toolkit for VS Code (by Microsoft) - Fine-tune and run local models in VS Code. Install extension
- GitHub Copilot (by GitHub) - Your AI flight partner.
- Codex — OpenAI’s coding agent - Delegation inside VS Code. Install extension
- Live Preview (by Microsoft) - Local web preview inside VS Code. Install extension
Two agents, two quotas: You now have Codex and Copilot in the same IDE. Each has different strengths and limitations, but most importantly, each has its own quota. When one is used up, you can switch to the other to keep working without interruption.
4First Ignition
Let's verify systems.
- Create a new folder on your computer named
Space_Lab_01. - Right-click that folder and select Open with Code.
- Create a new file named
hello_mars.py. - Type:
print("Systems nominal. Hello Mars.") - Press the Play Button (top right).
If you see the message in the terminal below, you are cleared for launch.
5Co-Pilot Flight Check
Now, let's engage your AI Flight Partner. Copilot suggests code as you type (Ghost Text).
▶ Test the Autopilot
In your hello_mars.py file, type the following comment and press Enter:
You should see grey text appear. That is Copilot.
▶ Flight Controls
| Action | Command (Windows/Linux) | Command (macOS) |
|---|---|---|
| Accept Suggestion | Tab |
Tab |
| Next Suggestion | Alt + ] |
Option + ] |
| Partial Accept (Word) | Ctrl + → |
Cmd + → |
| Open Mission Palette (See 10 options) |
Ctrl + Enter |
Ctrl + Enter |
✅ Readiness Check
- VS Code is installed.
- "Open with Code" works from right-click menu.
- Python & Jupyter extensions are active.
- You have successfully run your first Python script.