🎯 Learning Objectives
- Navigate the GIS map interface (Pan, Zoom, Identify).
- Find a specific location using search tools.
- Create a Layout suitable for printing (PDF/Image).
- Add essential map elements: Title, North Arrow, Scale Bar, and Author Name.
📂 Scenario & Requirements
You have been hired as a "Campus Mapper." Your client (me, your instructor) needs a simple yet professional Site Map of a location of your choice. This could be your university campus, your neighborhood park, or even your hometown center.
The goal is not complex analysis; the goal is communication. Can you produce a clean, readable map?
Theory Corner: These basemaps are technically IMS (Internet Mapping Services). Instead of living on your hard drive, they are streamed to you from GIS servers (often hosted on AWS cloud infrastructure).
🛠️ Step-by-Step Instructions
Select your preferred GIS platform:
Explore and Locate
Open your project from Lab 00. Use the Locate tool (magnifying glass) at the top right to search for your chosen location.
Change your Basemap: Go to the Map Tab → Basemap. Choose "Imagery Hybrid" or "Topographic".
Batch Geocoding Challenge: Download the European Space Agency CSV. Drag the file into your ArcGIS Pro "Contents" pane, right-click it, and select "Geocode Table" to place all agencies on your map at once!
Create a Layout
A "Map" is for working data; a "Layout" is for printing.
- Go to Insert Tab → New Layout. Select "Letter (8.5 x 11) Landscape".
- Go to Insert Tab → Map Frame. Draw a rectangle on the page to place your map.
Add Map Elements
Use the Insert Tab to add the following:
- North Arrow: To show orientation.
- Scale Bar: To show distance/size.
- Text (Title): Name your place (e.g., "Southwestern University Campus").
- Dynamic Text (Service Layer Credits): Acknowledges the data source.
- Text (Author): "Created by [Your Name]".
Export
Go to the Share Tab → Export Layout.
Format: JPG or PDF. DPI: 300. Save it to your computer.
Start QGIS & Install Plugins
1. Launch QGIS Desktop: Open the program from your Start Menu (Windows) or Applications (Mac). You should see a blank canvas.

QGIS uses plugins to extend its functionality. We need tools for Basemaps and Geocoding.
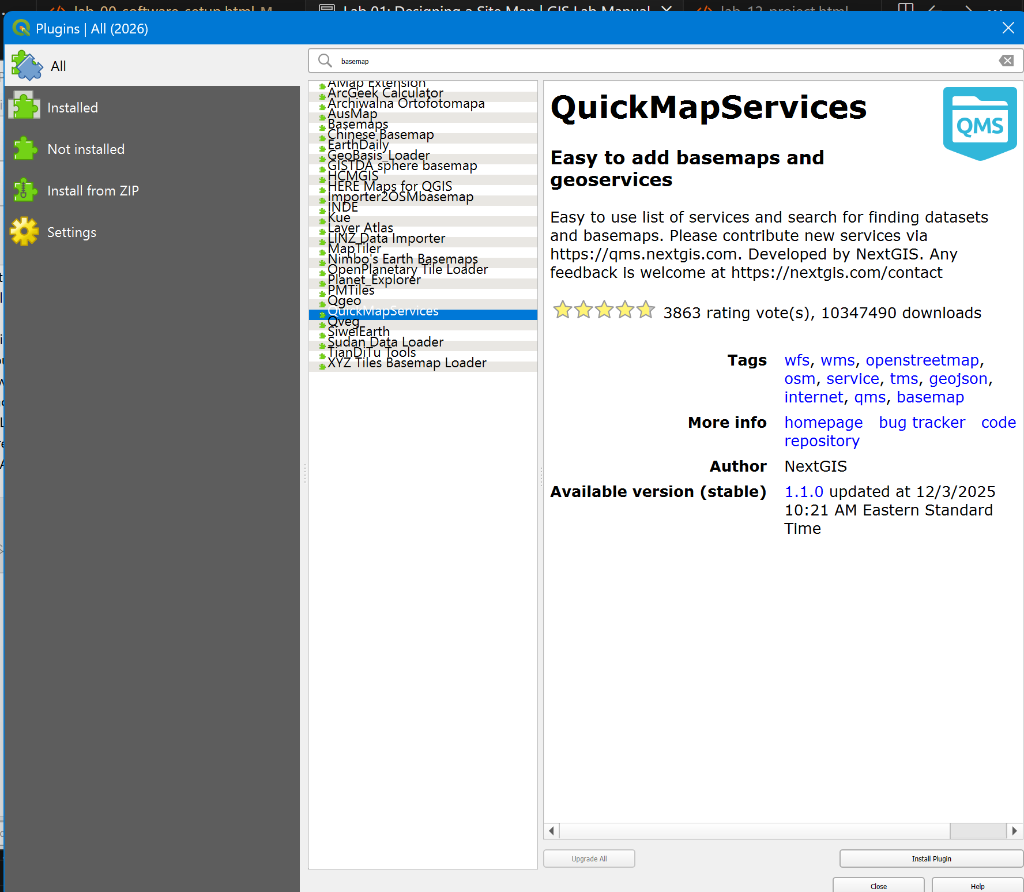
2. Go to Plugins → Manage and Install Plugins.

3. Search for and install QuickMapServices (for basemaps).
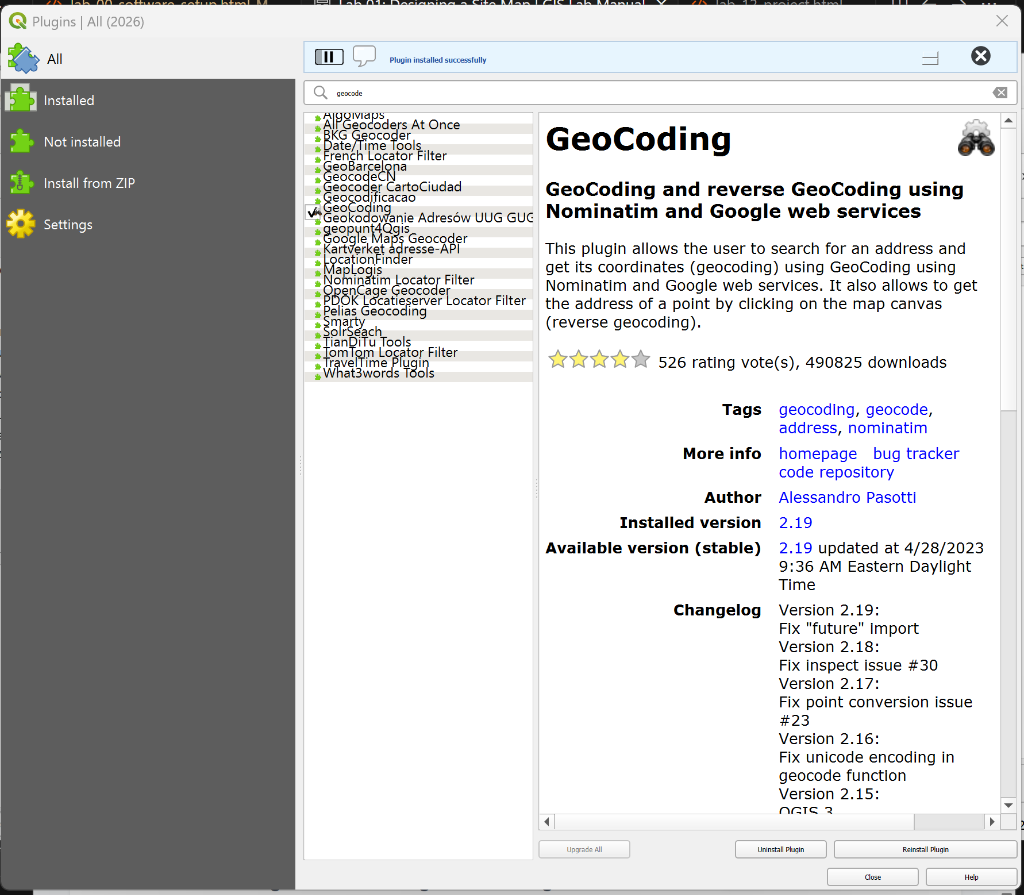
4. Search for and install Geocoding (for finding addresses).
Add Basemap & Zoom
1. Click the Add Map Service icon (added by QuickMapServices) or go to Web → QuickMapServices.
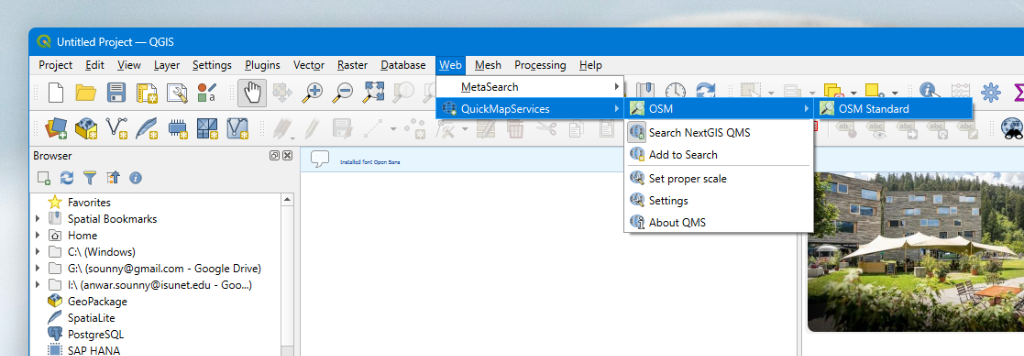
2. Choose OSM → OSM Standard. This streams data from the web directly onto your canvas.
3. Zoom to Extent: Use the Zoom In tool (magnifying glass with +) and draw a box around your area of interest to zoom precisely.
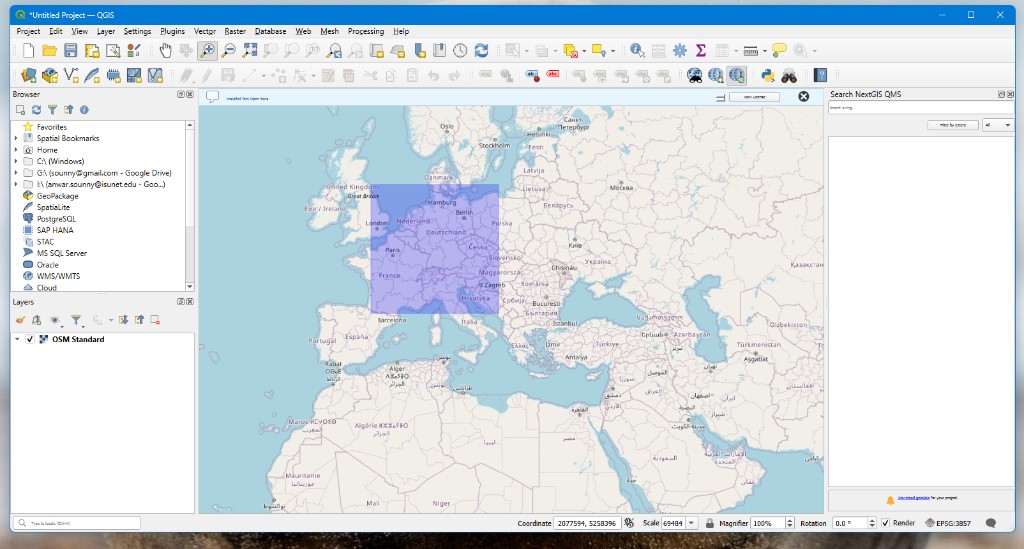
Try zooming into different regions like Texas, Florida, France, or Morocco to see how the level of detail changes.
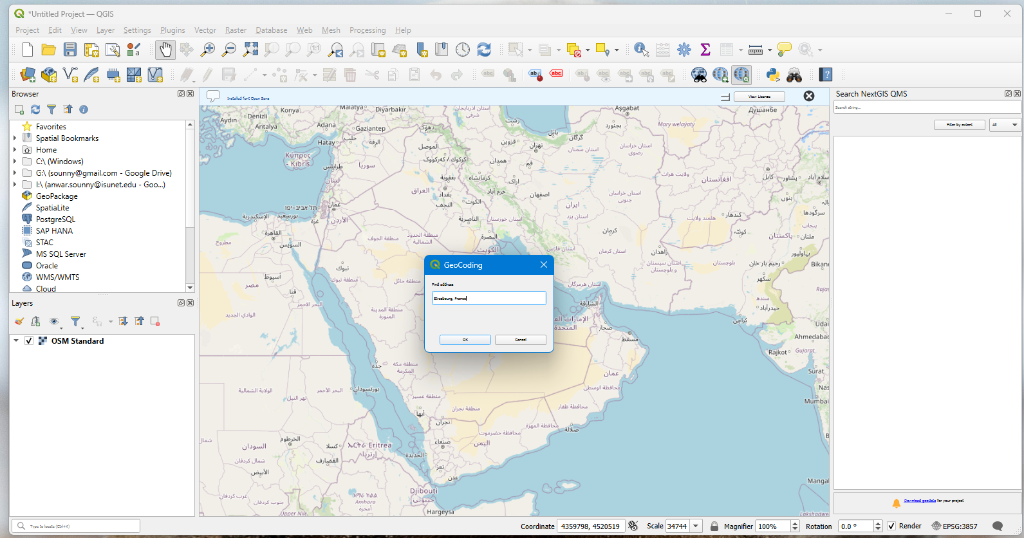
Geocoding (Find Location)
What is Geocoding? It is the process of converting geographic information (like an address) into computer language (Longitude and Latitude). Think of a Geolocator as a Telephone Operator: you ask for a name (or address), and they provide the number (or coordinates).
1. Go to Plugins → Geocoding → Geocoding.
2. Type an address (e.g., "Austin, Texas" or "Strasbourg, France").
Alternative: If you have trouble with the plugin, use the OSM Geocoder Website to find coordinates manually.
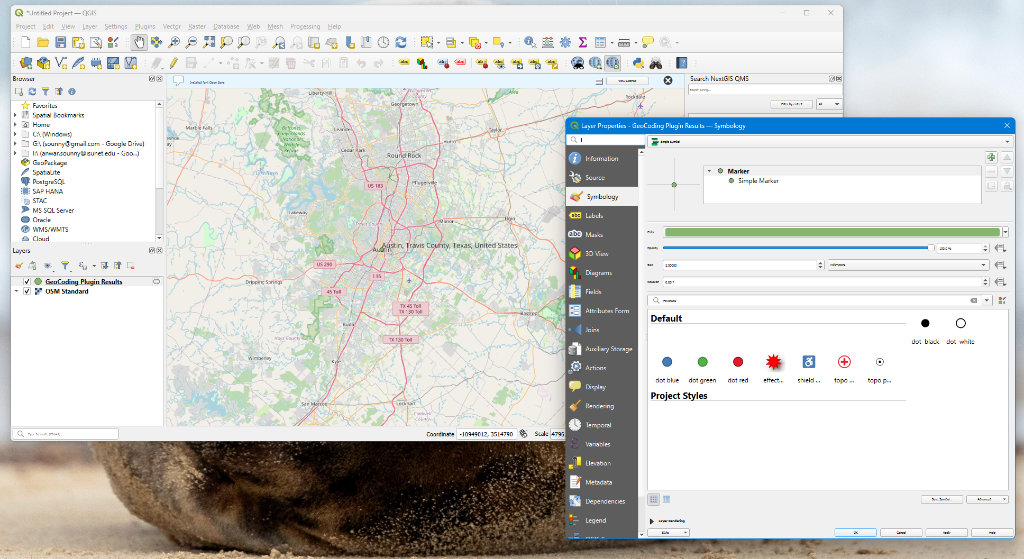
3. Only choose the result that has the correct hierarchy (e.g., Travis County, Texas). Click OK.
4. A point is created! Double-click it in the Layers panel to change its Symbology (e.g., big green dot).
Create Print Layout
1. Go to Project → New Print Layout. Name it.
2. Use the Add Map tool to draw a box on the blank page. Your map view appears.
3. Add Elements: Use the sidebar tools to draw boxes for North Arrow, Scale Bar, and Label (Title).
4. Customize fonts and sizes in the Item Properties tab.
Export to PDF
1. Once happy, click Export as PDF (top toolbar).
2. Ignore the "WMS Server" warning if it appears (just limits data download).
3. Save it to your desktop.
Pro Tip: PDF exports often render sharper than the screen preview!
Setup Map
Go to ArcGIS Online → Map Viewer.
Search for your location in the top right search bar.
Change Basemap: Click the "Basemap" icon (left dark toolbar) and choose "Imagery" or "Navigation".
Batch Geocoding (Import CSV)
Instead of searching one-by-one, you can upload a list of addresses. In the professional world, this is one of the most expensive GIS operations.
- Download the European Space Agency CSV.
- Pro Tip: Always use CSV (Comma Separated Values) instead of XLS. Ensure your columns are clean:
Street,City,Country. If you have all of them in one column, ArcGIS might get confused—it's better to separate them! - In the Map Viewer, click "Add" (left toolbar) → "Upload Shapefile or GeoJSON" (or simply drag the CSV file onto the map).
- The "Add Layer" dialog will appear. Ensure it maps "Address" to the Location field.
- Select "Geocode addresses". ArcGIS Online will find all the locations at once!
Add Sketch Layers
Click "Sketch" (Pencil icon) on the right toolbar.
Use the "Stamp" or "Text" tool to place a label on the map naming the site (Site Title). Add another text box with your Name.
Print / Export
On the left toolbar, click "Print" (Printer icon).
- Title: Enter your Map Title.
- Layout: Choose "Letter ANSI A Landscape".
- Format: PDF or JPG.
Click "Export". The file will generate after a few seconds—click the result to download it.
🚀 Space Agency Geocoding Challenge
For your afternoon lab, you must map the major European Space Agency (ESA) headquarters and establishments. This will test your manual and batch geocoding skills.
| Agency | Facility | Street Address |
|---|---|---|
| ESA | Headquarters | 8-10 rue Mario Nikis, 75015 Paris, France |
| ESA | ESTEC (Tech Centre) | Keplerlaan 1, 2201 AZ Noordwijk, Netherlands |
| ESA | ESOC (Operations) | Robert-Bosch-Strasse 5, 64293 Darmstadt, Germany |
| ESA | ESRIN (Earth Obs) | Largo Galileo Galilei 1, 00044 Frascati, Italy |
| CNES | Headquarters | 2 Place Maurice Quentin, 75001 Paris, France |
| DLR | Headquarters | Linder Höhe, 51147 Köln, Germany |
Deliverable: Your final map layout must show at least 5 of these agencies as distinct points on a European-scale basemap.
✅ Submission & Assessment
To pass Lab 01, submit your exported map file (JPG/PDF). It will be graded on:
- Completeness: Does it show the location clearly?
- Elements: Does it have a Title, North Arrow, Scale Bar, and Author Name?
- Aesthetics: Is the text readable? Is the map centered?