Part 2: Obtain River Centerline and Width
After processing the image to create a river mask, we will use existing functions from RivWidthCloud to process
the image further to obtain river centerlines and widths. Here, we will call RivWidthCloud functions directly,
taking advantage of the ability to use exposed functions from another Earth Engine script (using the
require functionality to load another script as a module). We'll explain the usage and purpose of the
RivWidthCloud functions used here.
There are three major steps involved in obtaining river widths from a given river mask:
- Calculate one-pixel-width river centerlines.
- Estimate the direction orthogonal to the flow direction for each centerline pixel.
- Quantify river width on the channel mask along the orthogonal directions.
Extract River Centerline
We rely on morphological image analysis techniques to extract a river centerline. This process involves three steps:
- Using distance transform to enhance pixels near the centerline of the river.
- Using gradient to further isolate the centerline pixel having local minimal gradient values.
- Cleaning the raw centerline by removing spurious centerlines.
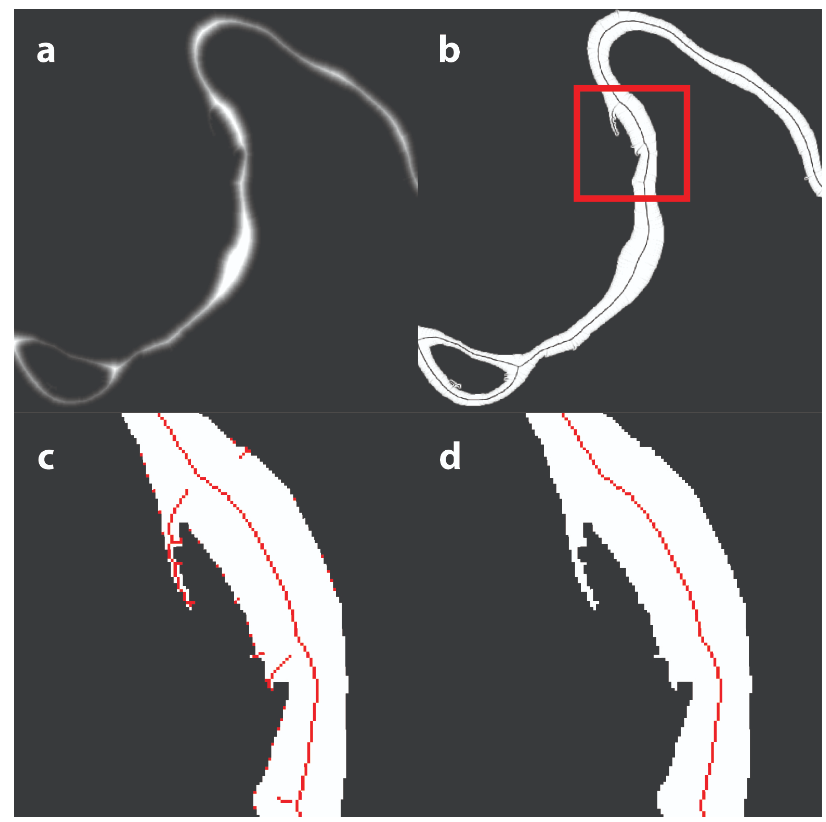
Figure: Steps extracting river centerline: (a) distance transform of a river mask; (b) gradient of the distance map (a); (c) raw centerline after skeletonization; (d) centerline after pruning.
First, a distance transform is applied to the river mask, resulting in a raster image where the closest distance
to the shore replaces the value of each water pixel in the river mask. This step is done by using the
CalcDistanceMap function from RWC. From Fig. A, we can see that, in the distance transform, the
center of the river has the highest values.
// Import existing functions from RivWidthCloud.
var riverFunctions = require(
    'users/eeProject/RivWidthCloudPaper:functions_river.js');
var clFunctions = require(
    'users/eeProject/RivWidthCloudPaper:functions_centerline_width.js'
);

//Calculate distance from shoreline using distance transform.
var distance = clFunctions.CalcDistanceMap(rivermask, 256, scale);
Map.addLayer(rpj(distance), {
    min: 0,
    max: 500
}, 'distance raster', false);
Second, to isolate the centerline of the river, we apply a gradient calculation to the distance raster. If we treat the distance raster as a digital elevation model (DEM), then the locations of the river centerline can be visualized as a ridgeline. They will thus have minimal gradient value. The gradient calculation is important, as it converts a local property of the centerline (local maximum distance) to a global property (global minimal gradient) to allow extraction of the centerline with a fixed gradient threshold (Fig. B). We use a 0.9 threshold (recommended for RivWidth (Pavelsky and Smith, 2008) and RWC) to extract the centerline pixels from the gradient image. However, the resulting initial centerline is only sometimes one pixel wide. To ensure a one-pixel-wide centerline, iterative image skeletonization is applied to thin the initial centerline (Fig. C).
// Calculate gradient of the distance raster.
// There are three different ways (kernels) to calculate the gradient.
// By default, the function used the second approach.
// For details on the kernels, please see the source code for this function.
var gradient = clFunctions.CalcGradientMap(distance, 2, scale);
Map.addLayer(rpj(gradient), {}, 'gradient raster', false);

// Threshold the gradient raster and derive 1px width centerline using skeletonization.
var centerlineRaw = clFunctions.CalcOnePixelWidthCenterline(rivermask,
    gradient, 0.9);
var raw1pxCenterline = rpj(centerlineRaw).eq(1).selfMask();
Map.addLayer(raw1pxCenterline, {
    palette: ['red']
}, 'raw 1px centerline', false);
Third, the centerline from the previous step will have noise along the shoreline and will have spurious branches
resulting from side channels or irregular channel forms that need to be pruned. The pruning function in RWC,
CleanCenterline, works by first identifying the end pixels of the centerline (i.e., centerline pixels
with only one neighboring pixel) and then erasing pixels along the centerline pixels starting from the end pixels
for a distance specified by MAXDISTANCE_BRANCH_REMOVAL. It will stop if the specified distance is
reached or the erasing encounters a joint pixel (i.e., pixels having more than two neighboring pixels). After
pruning, the final centerline should look like Fig. D.
// Prune the centerline to remove spurious branches.
var MAXDISTANCE_BRANCH_REMOVAL = 500;
// Note: the last argument of the CleanCenterline function enables removal of the pixels so that the resulting centerline will have 1px width in an 8-connected way. Once it is done, it doesn't need to be done the second time (thus it equals false)
var cl1px = clFunctions
    .CleanCenterline(centerlineRaw, MAXDISTANCE_BRANCH_REMOVAL, true);
var cl1px = clFunctions
    .CleanCenterline(cl1px, MAXDISTANCE_BRANCH_REMOVAL, false);
var final1pxCenterline = rpj(cl1px).eq(1).selfMask();
Map.addLayer(final1pxCenterline, {
    palette: ['red']
}, 'final 1px centerline', false);
Estimate Cross-Sectional Direction
Now, we will use the centerline we obtained from the previous step to help us measure the widths of the river.
River width is often measured along the direction perpendicular to the flow, which we will approximate using the
course of its centerline. We convolve the centerline image with a customized kernel to estimate cross-sectional
directions. The square 9 x 9 kernel has been designed so that each pixel on its rim has the radian value of the
angle between the line connecting the rim pixel and the center of the kernel and the horizontal x-axis (radian
angle 0). The convolution works by overlapping the center of the kernel with the centerline and calculating the
average of the values of the rim pixels that overlap the centerline pixels, which corresponds to the
cross-sectional direction of the particular centerline point under consideration. Here, we use the function
CalculateAngle to estimate the cross-sectional angles. The resulting raster will replace each
centerline pixel with the value of the cross-sectional directions in degrees.
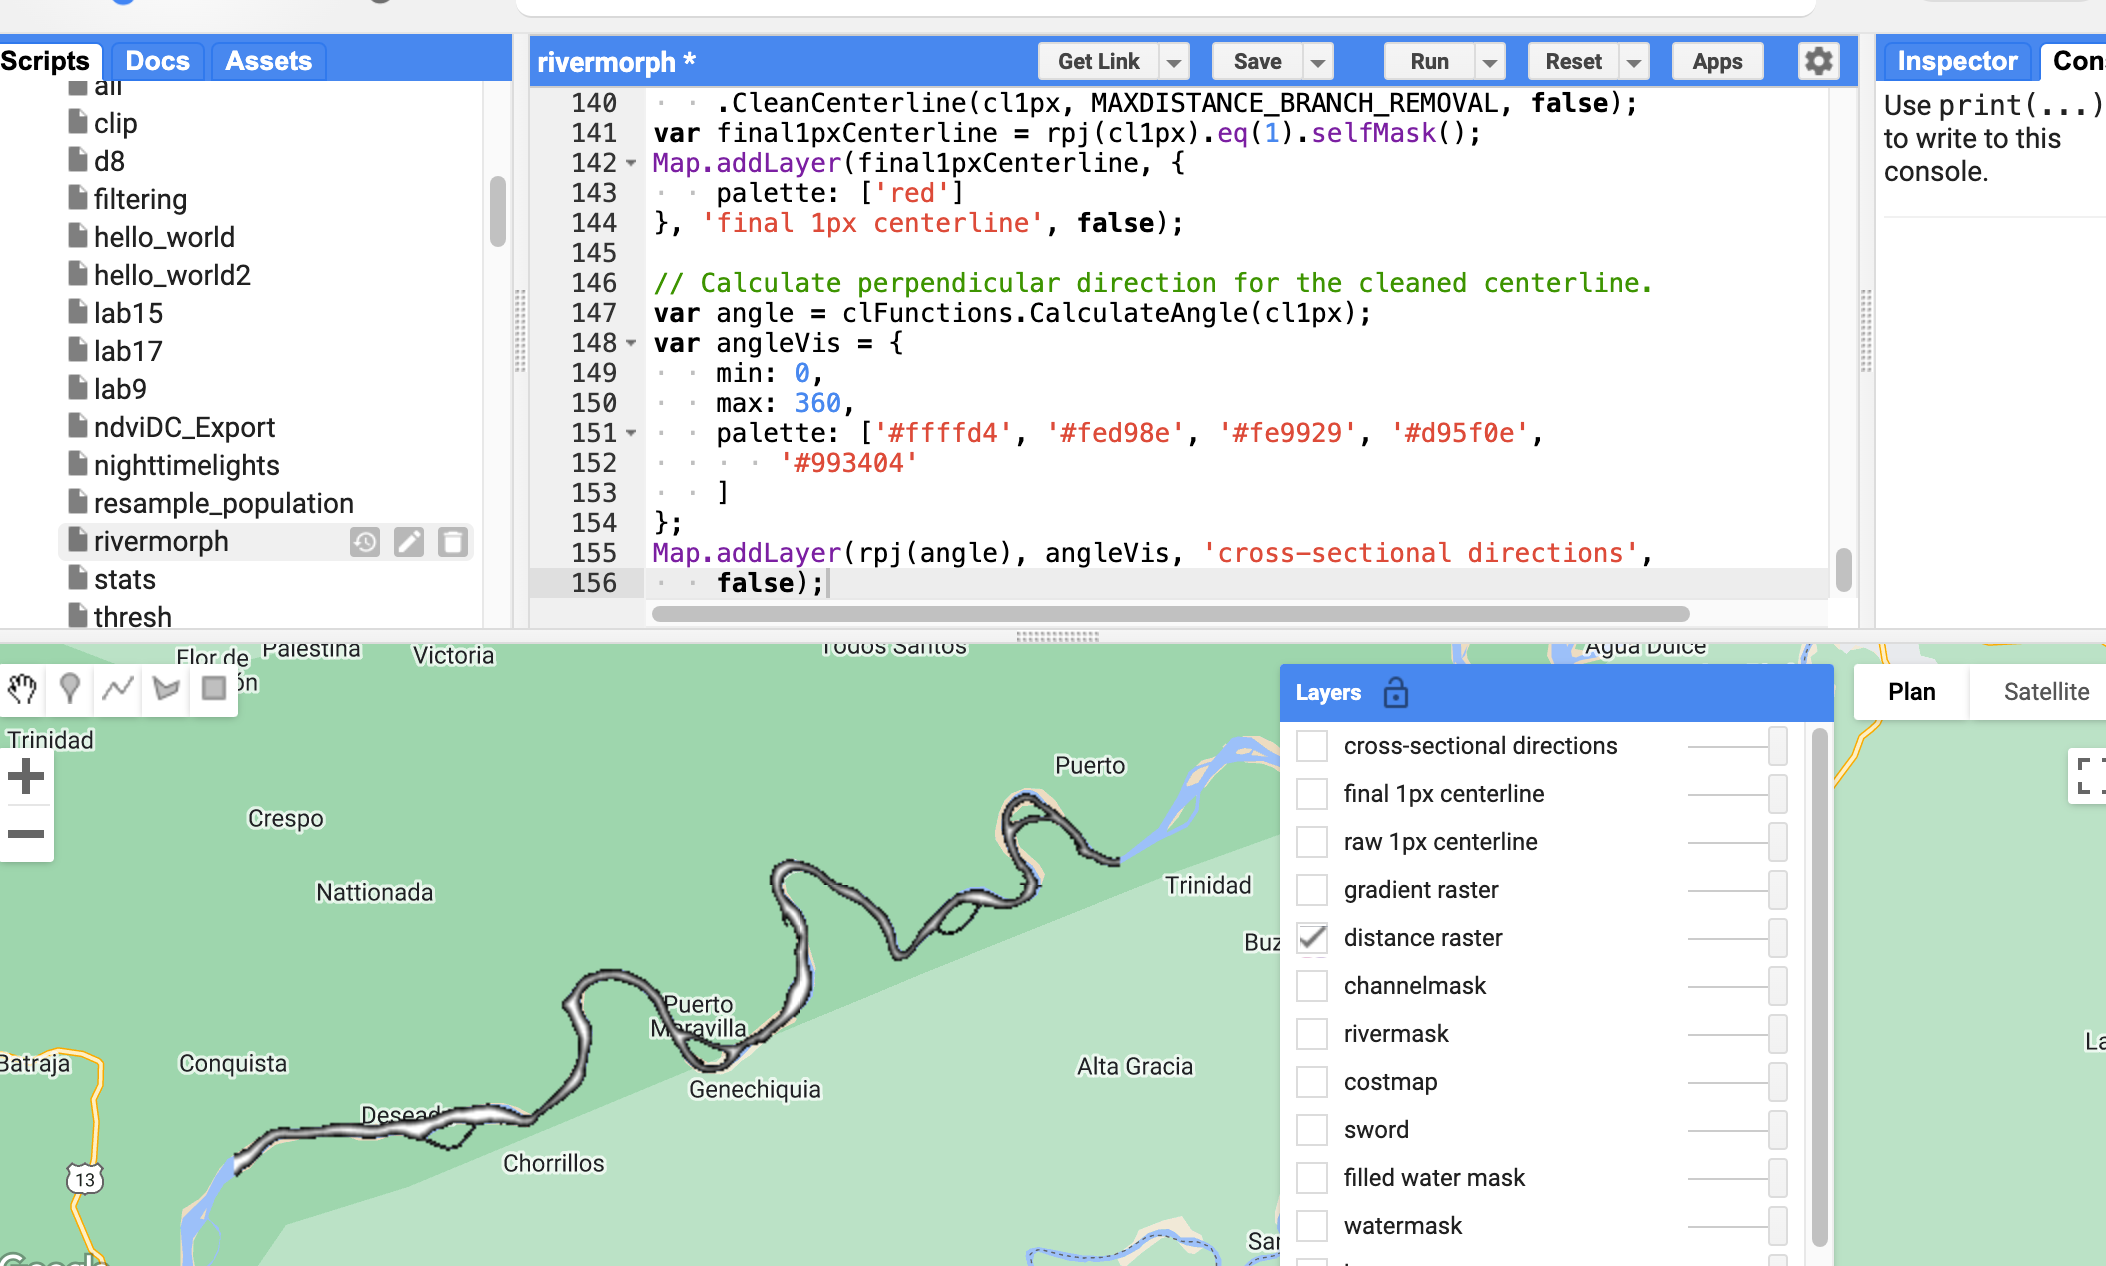
// Calculate perpendicular direction for the cleaned centerline.
var angle = clFunctions.CalculateAngle(cl1px);
var angleVis = {
    min: 0,
    max: 360,
    palette: ['#ffffd4', '#fed98e', '#fe9929', '#d95f0e', '#993404']
};
Map.addLayer(rpj(angle), angleVis, 'cross-sectional directions', false);
Quantify River Widths
To estimate river width, we will be using the RWC function rwGen_waterMask. This function can take
any binary water mask image as input to calculate river widths, so long as the band name is 'waterMask' and
contains the following three properties: 1) crs—UTM projection code, 2) scale—native spatial resolution, and 3)
image_id—acting as an identifier for the output widths. This function first processes the input water mask to
create all the intermediate images mentioned before (channel mask, river mask, centerline, and angle image). Then,
it creates a FeatureCollection of cross-sectional lines, each centered on one centerline pixel (from
the centerline raster) along the direction estimated in the 'Estimate Cross-Sectional Direction' section (from the
angle raster) and with a length three times longer than the distance from the centerline point to the closest
shoreline pixel (obtained from the distance raster). This feature collection is then used in an
Image.reduceRegions method as the FeatureCollection input. With a mean reducer, the
result denotes the ratio between the actual river width and the length of the line segment (which is known). Thus,
the final river width can be estimated by multiplying the ratio with the length of each line segment in the
FeatureCollection. However, the scaling factor of 3 is chosen empirically and can over- or
underestimate the maximum extent of river width. This is because the width, scaled by 3, is the minimal distance
from centerline pixels to the nearest shoreline pixels. When aligning line segments along the directions
orthogonal to the river centerline, we might encounter situations when the length of these segments is too short
to cover the river's width (underestimation) or too long that they overlap with neighboring river reaches
(overestimation). In both cases, the end(s) of the line segment overlaps with a pixel identified as 'water' in the
channel mask. Thus, additional steps are taken to flag these measurements.
The rwGen_waterMask takes four arguments—maximum search distance (unit: meter) to label river pixels, maximum size of islands (unit: pixel) to be filled in to calculate river mask, distance (unit: meter) to be pruned to clean the raw centerline, and the area of interest to carry out the width calculation. The output of the rwc function is a FeatureCollection with each feature having the properties listed in the table below.
| Property | Description |
|---|---|
| longitude | Longitude of the centerline point |
| latitude | Latitude of the centerline point |
| width | Wetted river width measured at the centerline point |
| orthogonalDirection | Angle of the cross-sectional direction at the centerline point |
| flag_elevation | Mean elevation across the river surface (unit: meter) based on MERIT DEM |
| image_id | Image ID of the input image |
| crs | The projection of the input image |
| endsInWater | Indicates inaccurate width due to the insufficient length of the cross-sectional segment that was used to measure the river width |
| endsOverEdge | Indicates width too close to the edge of the image such that the width can be inaccurate |
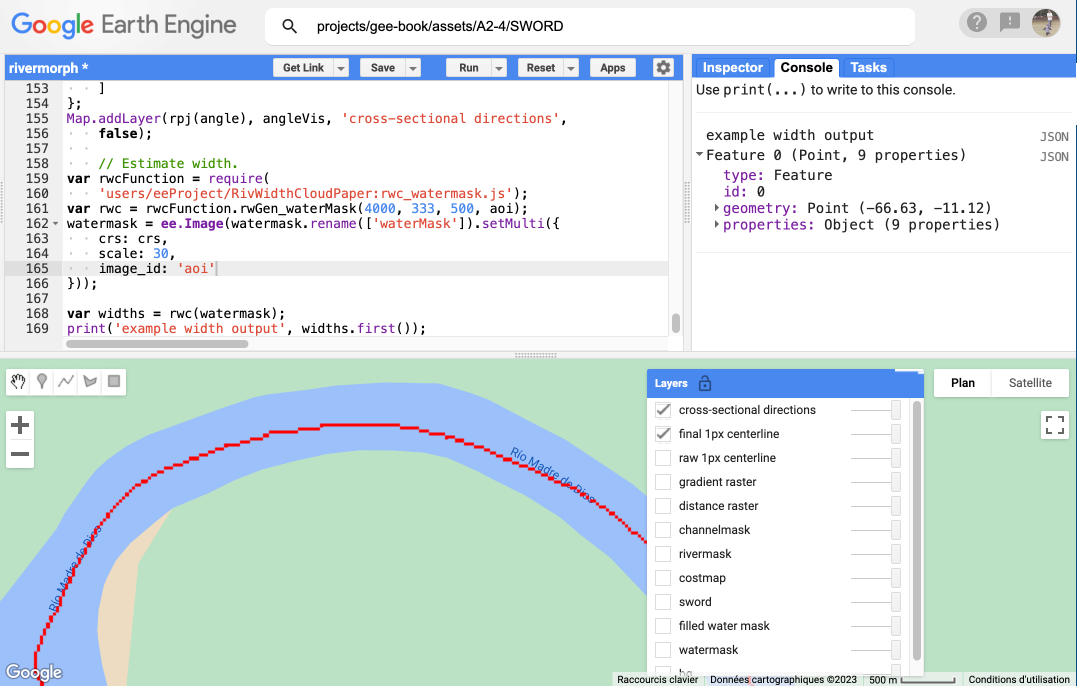
// Estimate width.
var rwcFunction = require(
    'users/eeProject/RivWidthCloudPaper:rwc_watermask.js');
var rwc = rwcFunction.rwGen_waterMask(4000, 333, 500, aoi);
waterMask = ee.Image(waterMask.rename(['waterMask']).setMulti({
    crs: crs,
    scale: 30,
    image_id: 'aoi'
}));

var widths = rwc(waterMask);
print('example width output', widths.first());