Creating Your ESRI Account
Get set up with a free ArcGIS Public Account to access StoryMaps and the ArcGIS ecosystem. This is your gateway to geographic storytelling.
🎯 Learning Objectives
- Understand how ESRI accounts connect to the global geographic community
- Identify the right account type for geographic research and storytelling
- Create a free ESRI Public Account
- Navigate to the StoryMaps platform and explore geographic resources
- Discover how your account connects you to spatial data and collaboration opportunities
Understanding ESRI Account Types
Before creating an account, it's important to understand the two main types of ArcGIS accounts:
🆓 Public Account
Free for anyone to create
- ✓ Create unlimited StoryMaps
- ✓ Access to Express Maps
- ✓ Living Atlas basemaps
- ✓ Share publicly
- ○ 2GB storage limit
- ○ No advanced GIS tools
🏢 Organizational Account
Provided by your institution
- ✓ Everything in Public
- ✓ Advanced Web Maps
- ✓ Collaboration features
- ✓ More storage
- ✓ Private sharing options
- ✓ Premium content
Navigate to the Sign-Up Page
There are two ways to access StoryMaps:
🧇 From ArcGIS Online
If you already have an account
Click the "waffle" menu (9-dot grid) in the top bar of your ArcGIS Online account, then select StoryMaps.
🔗 Direct URL
Fastest way to get started
Go directly to storymaps.arcgis.com and sign in or create an account from there.
Let's create your free Public Account:
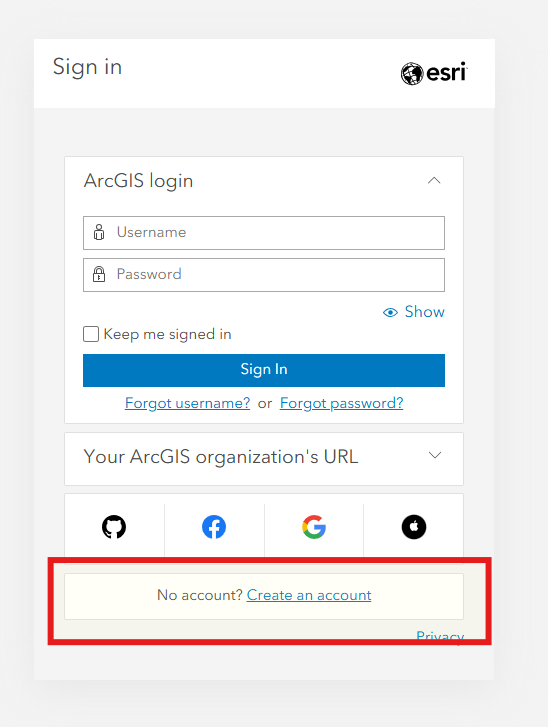
- Open your browser and go to: arcgis.com/home/signin.html →
- Look for the "Create account" option at the bottom of the sign-in form.
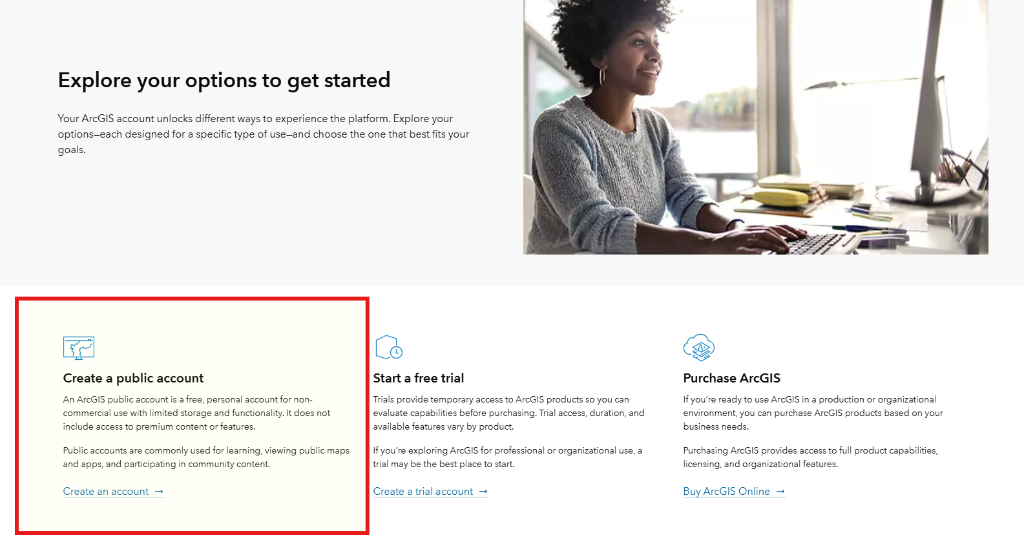
Select Account Type
You will be presented with a few options. It is critical that you choose the correct one for this workshop:
- Locate the "Create a public account" box (usually on the left side).
- Click the link: "Create an account ->" inside that box.
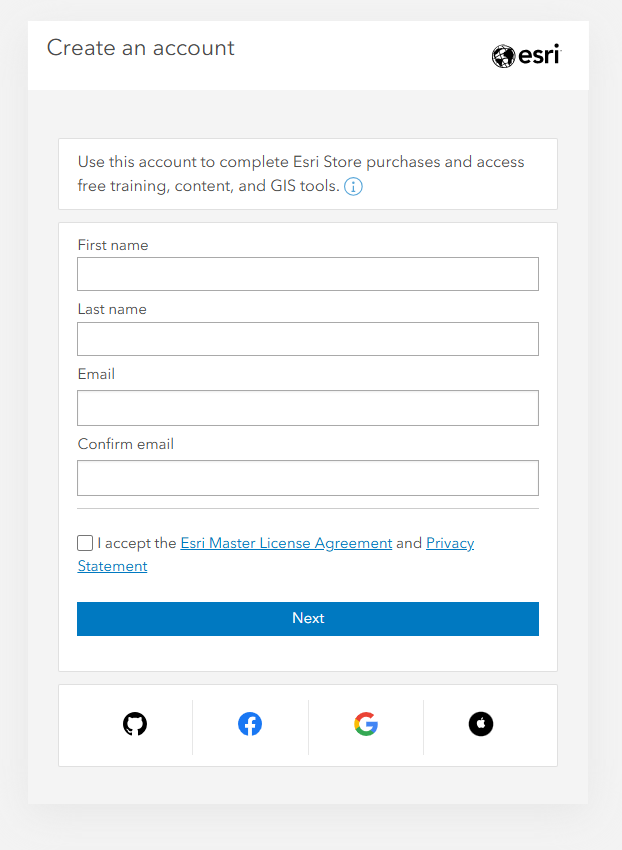
Fill in Account Details
Enter your information to create the account.
Why? Your school or work email might already be associated with an ESRI organizational account (`.edu` or `.org`), which can cause conflicts during sign-up. specific URL prefixes. Unless you are sure about your organization's login procedure, a personal email is the safest route for this independent workshop.
- First & Last Name: Enter your real name.
- Email: Enter your personal email address.
- Confirm Email: Retype to ensure accuracy.
- Agreements: Review and check the terms of use.
- Click Next: Proceed to finalize your account.
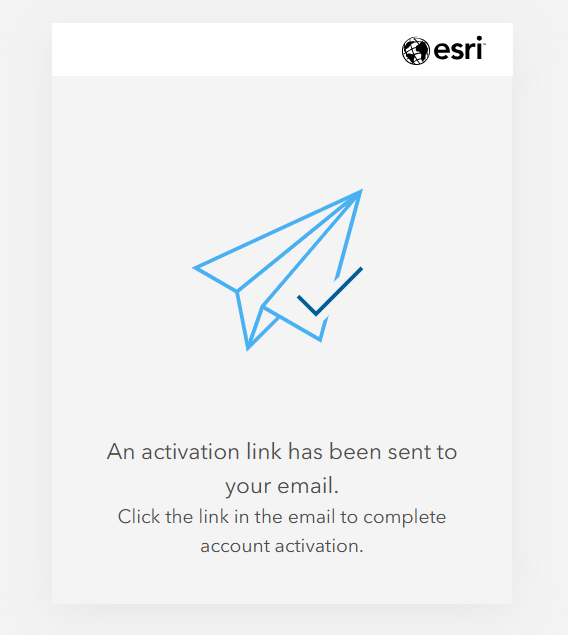
Verify Your Email
An activation link has been sent to your email address. It is currently waiting for you.
- Go to your email inbox (check the "Promotions" or "Spam" folder if you don't see it).
- Open the email from "Esri".
- Click the activation link. This will confirm your account and log you in.
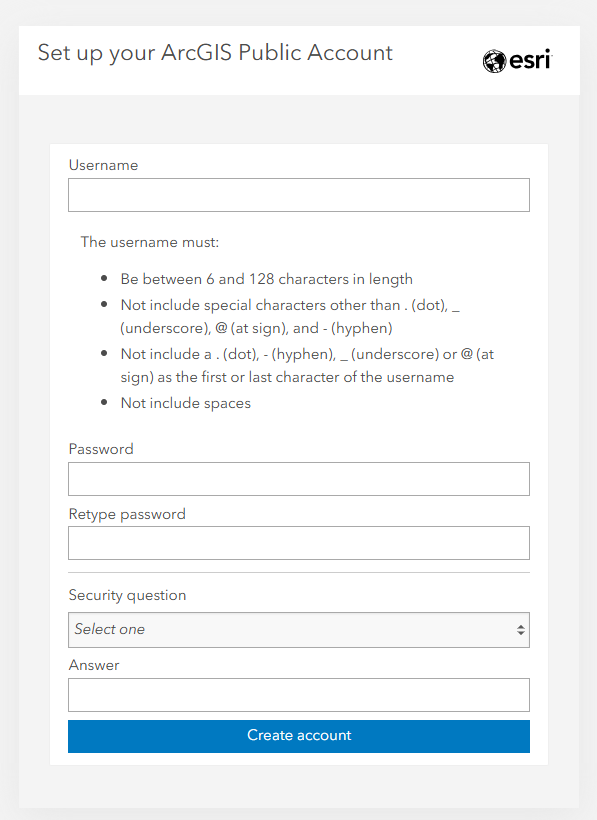
Finalize Account Details
After clicking the activation link, you will be directed to a page to complete your profile. This is where you create your login credentials.
- Username: Create a unique username (6-128 characters).
- Password: Create a strong password.
- Security Question: Select a question and answer for account recovery.
- Create Account: Click the button to finish the process.
Access StoryMaps
Now that your account is set up, let's access the StoryMaps platform:
- Go directly to StoryMaps: storymaps.arcgis.com →
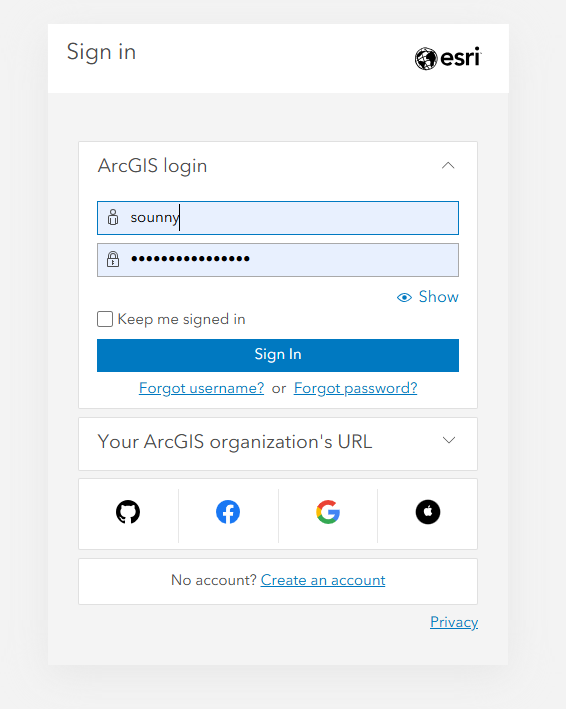
- Click "Sign In" in the top right corner.
Method A: Personal Public Account (Recommended)
Use the credentials you just created.
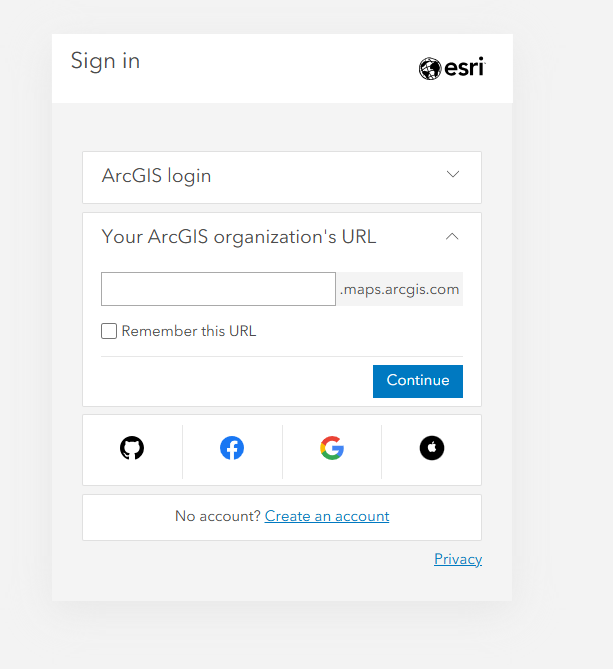
Method B: Organizational Account (Advanced)
If you belong to a university or organization with an ArcGIS subscription, you can sign in using your organization's URL prefix. This grants access to paid features and unlimited storage.
1. Expand the "Your ArcGIS organization's URL" section.
2. Enter your organization's prefix (e.g., if your org URL is
utexas.maps.arcgis.com, enter utexas).
3. Click "Continue" to be redirected to your institution's login page.
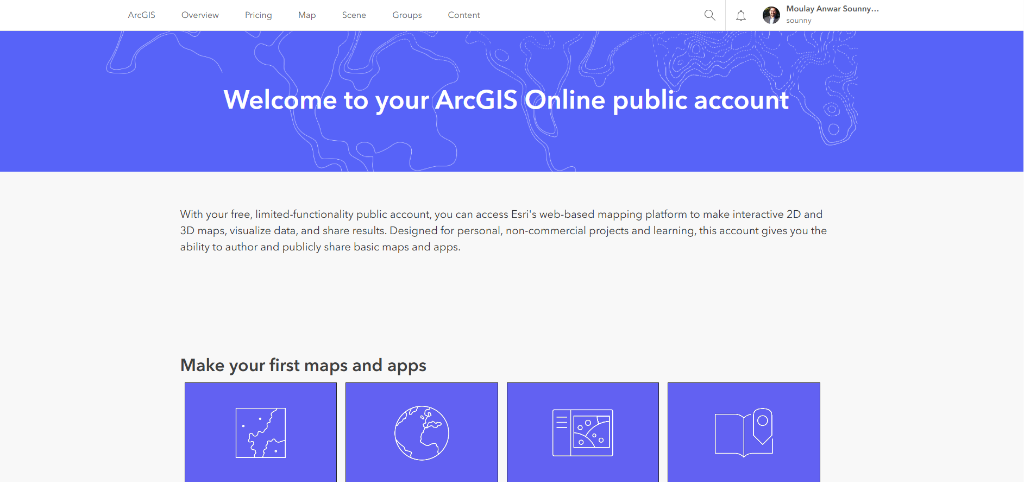
❓ Landed on a "Welcome" Screen?
Sometimes, especially the first time you log in, you might be taken to the general ArcGIS Online welcome page instead of the StoryMaps dashboard.
Explore the Resources Section
Before diving into building, take a moment to explore the helpful resources on the StoryMaps homepage (bottom left area):
Explore Stories
Browse other people's stories for inspiration about what's possible
Tutorials
Step-by-step guides from ESRI on specific features
Planning Stories
Learn strategies for outlining and structuring your narrative
The Blog
Stay updated with new features and storytelling tips
Your Dashboard Overview
Here's what you'll find on your StoryMaps dashboard:
New Story Button
Start creating a new StoryMap from scratch
My Stories
View and manage all your created StoryMaps
Favorites
Quick access to stories you've bookmarked
Collections
Organize your stories into themed groups